

How to Replace a Shower Pump: DIY Steps & When to Call a Plumber
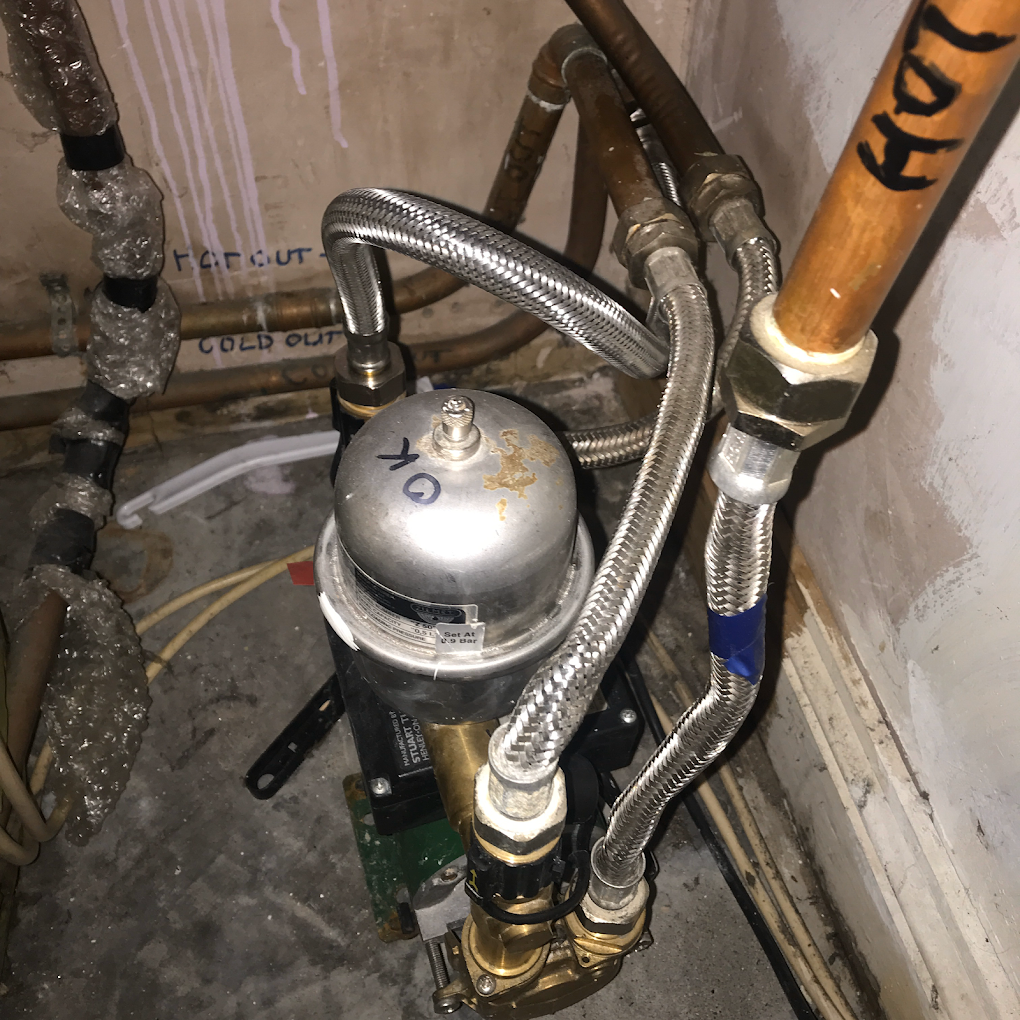
How to Replace a Shower Pump: DIY Steps & When to Call a Plumber Office Admin October 16, 2024 A faulty shower pump can lead to poor water pressure, loud noises, or a shower that stops working altogether. While replacing a shower pump is possible for experienced DIY homeowners, it isn’t always necessary. In many cases, the problem could be caused by an airlock, blocked filter, faulty flow switch or worn flexible hose. This guide explains how to replace a shower pump safely, the tools you’ll need, common mistakes to avoid, typical replacement costs in Dublin, and when it’s better to call a professional plumber. Whether you’re replacing a Stuart Turner, Salamander, Grundfos or another shower pump, the steps below will help you understand the process. Shower pump replacement involves removing a faulty or noisy unit and installing a new pump to restore proper water pressure. Professional replacement costs vary depending on pump type and pipework layout. Replacing a shower pump usually takes 2–4 hours for a qualified plumber. While some experienced DIY homeowners may attempt it, the job involves plumbing connections and electrical isolation, so professional installation is often recommended to ensure safety and protect the manufacturer’s warranty. Below, we explain how shower pump replacement is done step by step — and when it may be safer to call a professional. If your existing pump has failed completely, our Shower Pump Replacement Dublin service can supply and install a suitable replacement across Dublin. How Do You Know Your Shower Pump Needs Replacing? Many shower pump problems can be repaired without replacing the whole unit. Signs your shower pump may need replacement include: ✔ Pump won’t start ✔ Pump runs continuously ✔ Loud grinding or rattling noise ✔ Burning smell ✔ Water pressure keeps dropping ✔ Frequent electrical trips ✔ Water leaking from the motor housing If your pump is only making occasional noise or losing pressure, it could simply have an airlock or blocked inlet filter. Can a Shower Pump Be Repaired Instead of Replaced? Many homeowners assume a faulty shower pump must be replaced immediately, but this isn’t always the case. Certain faults can often be repaired without replacing the entire unit. Common repairable faults include: Blocked inlet filters Faulty flow switches Worn capacitors Airlocks in the system Damaged flexible hoses Non-return valve problems However, if the motor has seized, the bearings have worn out, or water has entered the electrical components, replacing the shower pump is usually the safest and most cost-effective option. A professional inspection can quickly determine whether a repair or replacement is the better investment. When You DON’T Need to Replace the Pump A complete replacement isn’t always the answer. In our experience, many pumps can be repaired by replacing inexpensive parts such as: Flow switch Capacitor Flexible hoses Inlet filters Non-return valves If the motor has seized, bearings have failed or water has entered the electrical components, replacing the entire pump is usually the safest long-term solution. Tools You’ll Need Adjustable spanner PTFE tape Screwdrivers Towels Bucket Voltage tester Isolation valve key (if fitted) Spirit level Torch for attic installations Step 1: Turn Off the Water and Power Safety first! Switch off the power to the shower pump. If you are unsure of the power supply location, it is usually connected to a fused spur near the pump or the main circuit breaker. Next, turn off the water supply to the shower pump. If isolation valves are installed, then turn off both hot and cold water lines. If you are unsure about the supply lines, then you need to shut off your home’s main water supply. If you’re unsure at any stage, it’s best to consult a qualified plumber. Professional Tip Always isolate the electrical supply before touching any pipework. Never rely solely on switching the shower off at the bathroom switch. Many pumps are connected through a fused spur located outside the bathroom. Step 2: Drain the Water System Before disconnecting anything, drain out any remaining water from the pipes to avoid a mess. Turn on the nearby faucet to release the water pressure and drain out the remaining water. Keep towels or a bucket to collect any extra drips. Step 3: Disconnect the Old Pump Before removing the pump, take a photo of the pipe connections and electrical wiring. This makes installation much easier if you need to reconnect the new unit in the same orientation. It is time to remove the old pump. Using an adjustable spanner or wrench, loosen the nuts connected to the pipes. Keep the towels nearby, bit of water may spill out when you do this. Once the pump is disconnected, unscrew any bolts or screws securing it in place. Gently remove the old pump and keep it aside for safe disposal. Step 4: Prepare the New Pump Before installing the new pump, check the instructions provided by the manufacturer. All pumps are not the same, so double-check any specific installation steps for your model. Wrap the threads on the pipe connections with the PTFE tape to create a watertight seal. It will reduce the chance of leaks. Step 5: Install the New Pump Carefully position the new pump in the correct mounting location. Align the inlet and outlet pipes with the existing system. Once you are positioned properly tighten the nuts and secure the connections using the spanners. Overtighten may damage the connections, so tight enough to prevent leaks. Before tightening the flexible hoses Ensure: ✓ Flow arrows point in the correct direction ✓ Pump is level ✓ Anti-vibration feet are installed ✓ Flexible hoses are not twisted Improper alignment is one of the most common reasons for noisy installations. Priming the Pump Before First Use Some shower pumps need to be primed before they can operate correctly. Follow the manufacturer’s instructions to remove trapped air from the system before switching the pump on. Running a shower pump without water can damage the internal seals and reduce its lifespan. Looking for